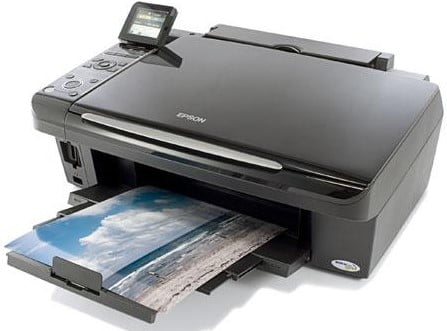
The Epson Stylus NX400 Manual, Install Drivers photo-restoration function is fascinating: You pack photo paper in the maker, put a blemished photo on the scanner plate, and press the Photoswitch. The Epson NX400 automatically checks the photo, solutions shade problems, and prints out a brought back variation. It doesn’t send a digital version of the brought back photo to your computer system. Yet, if you recover the photo using Epson’s installed software on your computer system, you can conserve the delivered back image as data.
The Epson NX400 uses four pigment-based inks, each housed in a single ink container; you can change the individual empty cartridges as required. The inks dry instantaneously, and prints can be handled as soon as they exit the printer. The photographs are spot, water, and fade immune. The pictures look fine when checked out directly.
The Epson NX400 got an Excellent ranking from our panel of editors who judged the high photo quality. The prints had intense and pleasing shades that often tended to be a little on the red side. Under close evaluation, images had some noticeable dots in some light areas of the prints, but nothing unusual for this course of the printer. Our graphics and fine line examination prints, as well as text examinations, earned the NX400 Very Good scores as well. The Epson Stylus NX400 took around 18 secs to print a 1-page Word document at Normal setups. It took 2 mins and 35 secs to print a 10-page document.
Operating System (OS)
Table of Contents
Windows 7 (x64), Windows 7 (x86), Windows 8 (x64), Windows 8 (x86), Windows 8.1 (x64), Windows 8.1 (x86), Windows XP (x64), Windows XP (x86), Windows 10 (x64), Windows 10 (x86)
Download Epson Stylus NX400 Setup Links:
How to Install Driver Epson Stylus NX400:
- Click to downloaded the file with Windows.
- Double-click the Epson Stylus NX400 Driver Download
- Connect your Epson to the computer using USB and power on the printer
- Double-click on the installation icon to start the installation.
- Then you follow the step by step instructions on your monitor screen.
- Finished, The Epson Stylus NX400 Printer has been ready to use.
Read Also: Epson Stylus CX3500 Manual, Install Drivers for Windows
How to Install Epson Stylus NX400 Using CD or DVD Driver:
Epson Stylus NX400 users choose to install the driver using a CD or DVD driver because it is easy and fast to do.
- Insert the CD Epson Stylus NX400 driver into your computer or PC.
- Let the CD run on your PC or Computer.
- Start to run the setup file, and you must follow the installation guide.
- Follow the actions(step) which appear on the screen to complete.
- You are asked to link(connect) a USB cable in between the Epson Stylus NX400 and the computer system cable.
- It is important to note: do it after you read the instructions to do it. Don’t do it before you see the directions.
- Wait a while until the computer or PC identify(detect ) the Epson Stylus NX400 printer and continues the process.
Don’t forget to include all the worths to the wizard up until you have finished the setup process. - The last thing to do is to try the printer. Try printing something to check whether the printer is working or not. If not, you can reinstall by following the steps above. Make sure you have done all the steps.
- The last thing to do is attempting the printer. Tray to print something to examine whether the printer is working or not. If it is not, you can reinstall by following the steps above. Ensure that you have done all the actions.