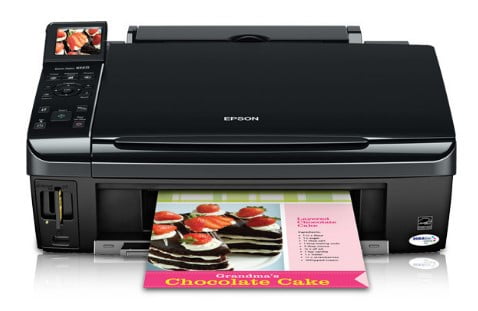
The Epson Stylus NX415 Manual, Install Drivers printer evaluates an exceptionally light 12.8 lbs, making it quickly transferred if required. It likewise has a single USB 2.0 port. However, networking is not built-in to the printer; neither is it available as an add-on. To network the printer, one will require to configure it as a shared printer, needing the system it is linked to being on and networked to make it possible for remote printing.
The Stylus NX415 produces duplicates in black and white at the remarkable speed of 33 pages, a marked improvement over lower-end printers in the NX series, and equivalent with lots of higher-end laser photocopiers. It will produce approximately 1-99 duplicates all at once, though the tiny paper ability does make this rather not practical as a photocopier to process more vital records.
The Epson Stylus NX415 has an optimum print resolution of 5760 by 1440 dpi, regular with other high-resolution photo inkjet printers, and well above the color print depth used by the most printer. Additionally, the Epson NX415’s shade ink is created to create smudge-resistant, waterproof, and fade-resistant prints.
Operating System (OS)
Table of Contents
Windows 7 (x64), Windows 7 (x86), Windows 8 (x64), Windows 8 (x86), Windows 8.1 (x64), Windows 8.1 (x86), Windows XP (x64), Windows XP (x86), Windows 10 (x64), Windows 10 (x86)
Download Epson Stylus NX415 Setup Links:
How to Install Driver Epson Stylus NX415:
- Click to downloaded the file with Windows.
- Double-click the Epson Stylus NX415 Driver Download
- Connect your Epson to the computer using USB and power on the printer
- Double-click on the installation icon to start the installation.
- Then you follow the step by step instructions on your monitor screen.
- Finished, The Epson Stylus NX415 Printer has been ready to use.
Read Also: Epson Stylus NX515 Manual, Install Drivers for Windows
How to Install Epson Stylus NX415 Using CD or DVD Driver:
Epson Stylus NX415 users choose to install the driver using a CD or DVD driver because it is easy and fast to do.
- Insert the CD Epson Stylus NX415 driver into your computer or PC.
- Let the CD run on your PC or Computer.
- Start to run the setup file, and you must follow the installation guide.
- Follow the actions(step) which appear on the screen to complete.
- You are asked to link(connect) a USB cable in between the Epson Stylus NX415 and the computer system cable.
- It is important to note: do it after you read the instructions to do it. Don’t do it before you see the directions.
- Wait a while until the computer or PC identify(detect ) the Epson Stylus NX415 printer and continues the process.
Don’t forget to include all the worths to the wizard up until you have finished the setup process. - The last thing to do is to try the printer. Try printing something to check whether the printer is working or not. If not, you can reinstall by following the steps above. Make sure you have done all the steps.
- The last thing to do is attempting the printer. Tray to print something to examine whether the printer is working or not. If it is not, you can reinstall by following the steps above. Ensure that you have done all the actions.