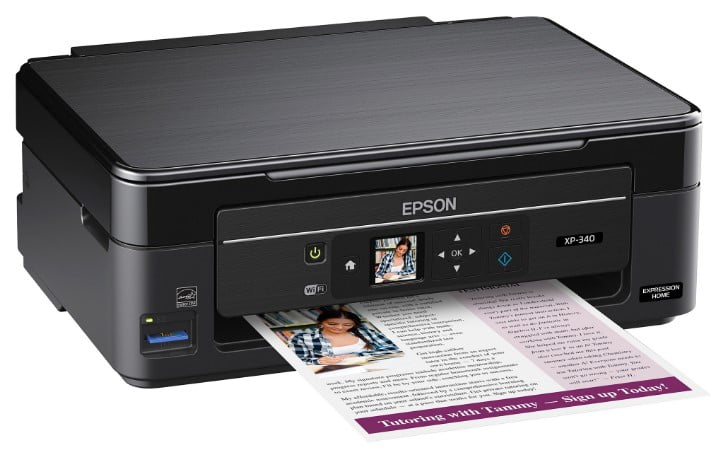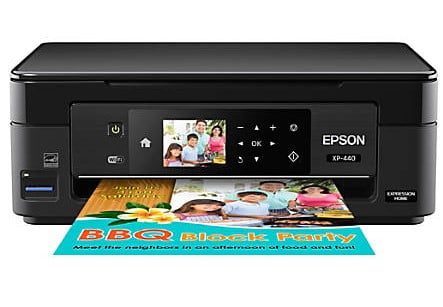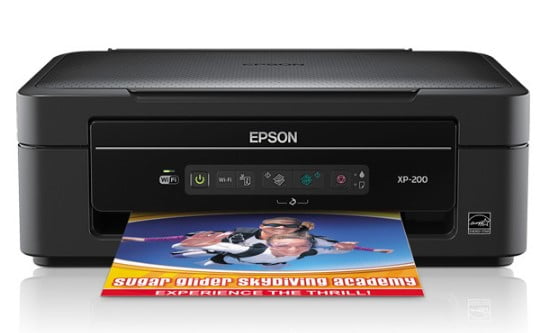
The Epson Stylus NX100 Manual, Install Drivers using the convenience you need for all your everyday projects. It’s simpler than ever with one-touch colour copying, high-quality scanning, single ink cartridges and quick print rates. With Epson’s unique inkjet technology, the Epson NX100 provides up to 26 ppm. And, with instant-dry ink, you get sturdy records and truly touchable photos quickly after printing. DURABrite Ultra pigment ink guarantees fantastic smudge, fade, water and highlighter resistant prints on ordinary and image paper, making it the clear choice for your vital files. Whatever the task, every print makes sure to impress since the Epson Stylus NX100 provides brilliant results instantly.
The Epson Stylus NX100 all-in-ones provide crisp papers, dynamic images, and beneficial scan and copy abilities for a wide range of everyday printing, scanning and copying needs at incredibly sensible prices. The Epson NX100 publishes up to 26 ppm for black message documents. This all-pigment, instant-drying ink generates a laser-quality message and dazzling colour pictures on plain, photo or speciality paper. The ink is spot and waterproof to secure relevant documents, provides fade resistance as much as 6 times longer than leading competitive prints, and is highlighter-friendly on simple paper. Whether customers are printing essential files, Web pages, dishes, book reports, or imaginative tasks, the DURABrite Ultra ink supplies impressive outcomes.
Operating System (OS)
Table of Contents
Windows 7 (x64), Windows 7 (x86), Windows 8 (x64), Windows 8 (x86), Windows 8.1 (x64), Windows 8.1 (x86), Windows XP (x64), Windows XP (x86), Windows 10 (x64), Windows 10 (x86)
Download Epson Stylus NX100 Setup Links:
How to Install Driver Epson Stylus NX100:
- Click to downloaded the file with Windows.
- Double-click the Epson Stylus NX100 Driver Download
- Connect your Epson to the computer using USB and power on the printer
- Double-click on the installation icon to start the installation.
- Then you follow the step by step instructions on your monitor screen.
- Finished, The Epson Stylus NX100 Printer has been ready to use.
Read Also: Epson Stylus NX530 Manual, Install Drivers for Windows
How to Install Epson Stylus NX100 Using CD or DVD Driver:
Epson Stylus NX100 users choose to install the driver using a CD or DVD driver because it is easy and fast to do.
- Insert the CD Epson Stylus NX100 driver into your computer or PC.
- Let the CD run on your PC or Computer.
- Start to run the setup file, and you must follow the installation guide.
- Follow the actions(step) which appear on the screen to complete.
- You are asked to link(connect) a USB cable in between the Epson Stylus NX100 and the computer system cable.
- It is important to note: do it after you read the instructions to do it. Don’t do it before you see the directions.
- Wait a while until the computer or PC identify(detect ) the Epson Stylus NX100 printer and continues the process.
Don’t forget to include all the worths to the wizard up until you have finished the setup process. - The last thing to do is to try the printer. Try printing something to check whether the printer is working or not. If not, you can reinstall by following the steps above. Make sure you have done all the steps.
- The last thing to do is attempting the printer. Tray to print something to examine whether the printer is working or not. If it is not, you can reinstall by following the steps above. Ensure that you have done all the actions.