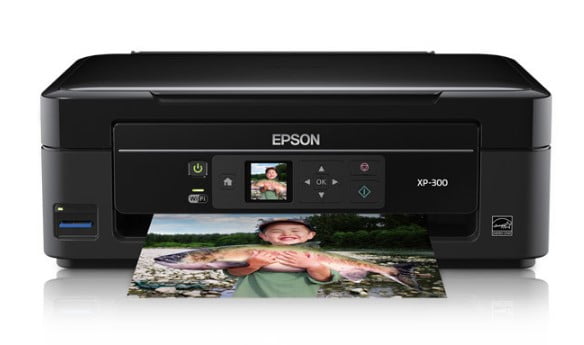
The Epson XP-300 Manual, Install and Driver Download delivers exceptional quality and performance in a sleek, space-saving design. Quiet and unobtrusive, this Small-in-One printer presents Epson Connect for instant wireless printing from popular mobile devices. And, it offers the latest in wireless technology, making it easy to print from any room in your home. XP-300 includes LCD 1.44 “and memory card slots for simple PC-free photo printing. Grab your prints and receive, thanks to the DURABrite Ultra dry instant ink. You can even scan a document and save it as a PDF or JPEG or make a brilliant copy of the color in a snap.
The Epson XP-300 flatbed scanner above allows you to digitize your documents and photos easily, even if only one at a time. It scans at 300 dpi resolution. This makes it quite an entry-level scanner but still quite proficient. We can scan our documents and convert them into editable word files using OCR software. There was a slight error, and the text looked nice and sharp. The XP-300 simple control scheme allows you to browse through all the settings quickly, so you won’t feel frustrated when trying to change a simple setup. Other layouts are pretty straightforward. Load up to 100 sheets of paper on the back has a printed document pushed out of the front. Our primary concern is with how the document looks.
Operating System (OS)
Table of Contents
Windows 7 (x64), Windows 7 (x86), Windows 8 (x64), Windows 8 (x86), Windows 8.1 (x64), Windows 8.1 (x86), Windows XP (x64), Windows XP (x86), Windows 10 (x64), Windows 10 (x86)
Epson XP-300 Printer Driver, Scanner, Software Download For Windows:
| File Name | Link Downloads |
| Printer Driver v2.68.02 Epson XP 300 | Download |
| Scanner Driver Utility v6.5.23.0 Epson XP 300 | Download |
| Epson Software Updater v4.6.5 | Download |
How to Install Epson XP-300 Driver:
- Click to download the file with Windows.
- Double-click the Epson XP-300 Driver Download
- Connect your Epson to the computer using USB and power on the printer
- Double-click on the installation icon to start the installation.
- Then you follow the step-by-step instructions on your monitor screen.
- Finished, The Epson XP 300 Printer has been ready to use.
Read Also: Epson XP-424 Manual, Install for Windows
How to Install Epson XP-300 Using CD or DVD Driver:
Epson XP-300 manual users choose to install the driver using a CD or DVD driver because it is easy and fast to do.
- Insert the CD Epson XP-300 driver into your computer or PC.
- Let the CD run on your PC or Computer.
- Start to run the setup file, and you must follow the installation guide.
- Follow the actions(step) which appear on the screen to complete.
- You are asked to link(connect) a USB cable in between the Epson XP 300 and the computer system cable.
- It is important to note: do it after you read the instructions. Don’t do it before you see the directions.
- Wait a while until the computer or PC identifies (detects) the Epson XP-300 printer and continues the process.
Don’t forget to include all the worths to the wizard up until you have finished the setup process. - The last thing to do is to try the printer. Try printing something to check whether the printer is working or not. If not, you can reinstall by following the steps above. Make sure you have done all the steps.
- The last thing to do is attempting the printer. Tray to print something to examine whether the printer is working or not. If it is not, you can reinstall by following the steps above. Ensure that you have done all the actions.