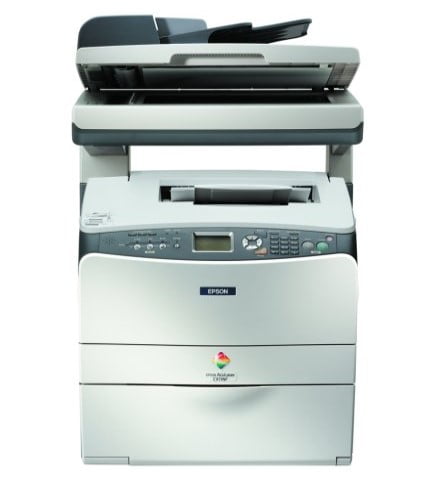
The Epson AcuLaser CX11NF Manual, Install is an inexpensive, multi-function shade laser printer that includes a built-in flatbed scanner, fax machine, and copier capabilities. This can be shared over the network utilizing its primary Ethernet 10/100 Base T link or attached directly to your Mac using USB 2.0. While I had a few problems getting my printer set up, the CX11NF proved to be an excellent entertainer throughout.
The Epson CX11NF also shot through our scanning tests, although it was challenging to contrast our results to various other single-function scanner results due to the fact that this scanner only outputs 24-bit color scan, while our inspection requires 48-bit Scan. That’s an excellent job of scanning our elegant line resolution graphs, causing clear and neat lines, without any real mistakes.
By combining both the scanner and printer, the Epson AcuLaser CX11NF can also function as a shade laser copier. It has a 50-sheet automatic feeder for copying or scanning multi-page recordings. The copy of the document looks very good, even though the photocopy that has the color of the experiment is slightly saturated and slightly on the red side. It’s good enough for a fast copy, but it’s not like scanning directly into Photoshop and printing.
Operating System (OS)
Table of Contents
Windows 7 (x64), Windows 7 (x86), Windows 8 (x64), Windows 8 (x86), Windows 8.1 (x64), Windows 8.1 (x86), Windows XP (x64), Windows XP (x86), Windows 10 (x64), Windows 10 (x86)
Epson AcuLaser CX11NF Printer Driver Links:
Epson CX11NF Scanner Driver Links:
How to Install Driver Epson AcuLaser CX11NF:
- Click to downloaded the file with Windows.
- Double-click the Epson AcuLaser CX11NF Driver Download
- Connect your Epson to the computer using USB and power on the printer
- Double-click on the installation icon to start the installation.
- Then you follow the step by step instructions on your monitor screen.
- Finished, The Epson AcuLaser CX11NF Printer has been ready to use.
Read Also: Epson ET-M1170 Manual, Install for Windows
How to Install Epson AcuLaser CX11NF Using CD or DVD Driver:
Epson AcuLaser CX11NF users choose to install the driver using a CD or DVD driver because it is easy and fast to do.
- Insert the CD Epson AcuLaser CX11NF driver into your computer or PC.
- Let the CD run on your PC or Computer.
- Start to run the setup file, and you must follow the installation guide.
- Follow the actions(step) which appear on the screen to complete.
- You are asked to link(connect) a USB cable in between the Epson AcuLaser CX11NF and the computer system cable.
- It is important to note: do it after you read the instructions to do it. Don’t do it before you see the directions.
- Wait a while until the computer or PC identify(detect ) the Epson AcuLaser CX11NF printer and continues the process.
Don’t forget to include all the worths to the wizard up until you have finished the setup process. - The last thing to do is to try the printer. Try printing something to check whether the printer is working or not. If not, you can reinstall by following the steps above. Make sure you have done all the steps.
- The last thing to do is attempting the printer. Tray to print something to examine whether the printer is working or not. If it is not, you can reinstall by following the steps above. Ensure that you have done all the actions.