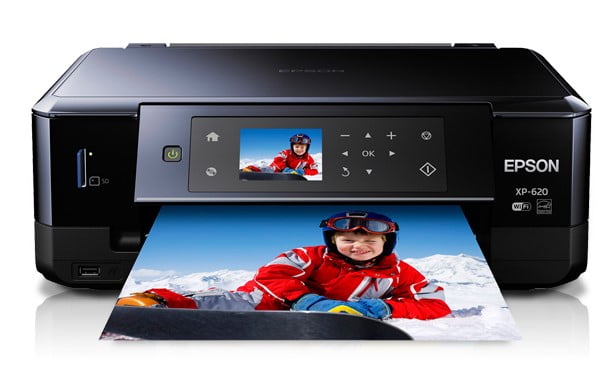
The Epson XP-620 Manual, Install is a well-searched all-in-one, with a surprisingly small footprint, because of the small-in-one Epson redesign. Although a little deeper than its predecessor, it is an important width and XP-620 takes less than your table than most of its competitors. It’s shallow-curve to conceal the top 30-sheet Automatic Document Feeder (ADF) while the flatbed scanner cover triggers a change on the 88mm color LCD when lifted, indicating the scan, copy and fax options. The XP-620 8.8 cm LCD screen offers touch-screen controls though without gesture support, which is backed by six special touch icons that range on each side of the screen. The power control Panel exits to a comfortable angle when the machine starts printing, although it then feels a little thin when touched, as you push against the drive mechanism.
Operating System (OS)
Table of Contents
Windows 7 (x64), Windows 7 (x86), Windows 8 (x64), Windows 8 (x86), Windows 8.1 (x64), Windows 8.1 (x86), Windows XP (x64), Windows XP (x86), Windows 10 (x64), Windows 10 (x86)
Download Epson XP-620 Setup Links:
How to Install Driver Epson XP-620:
- Click to downloaded the file with Windows.
- Double-click the Epson XP-620 Driver download
- Connect your Epson to the computer using USB and power on the printer
- Double-click on the installation icon to start the installation.
- Then you follow the step by step instructions on your monitor screen.
- Finished, The Epson XP-620 Printer has been ready to use.
Read Also: Epson XP-7100 Printer Driver Download for Windows 7, 8, 10
How to Install Epson XP-620 Using CD or DVD Driver:
Epson XP-620 users choose to install the driver using a CD or DVD driver because it is easy and fast to do.
- Insert the CD Epson XP-620 driver into your computer or PC.
- Let the CD run on your PC or Computer.
- Start to run the setup file, and you must follow the installation guide.
- Follow the actions(step) which appear on the screen to complete.
- You are asked to link(connect) a USB cable in between the Epson XP-620 and the computer system cable.
- It is important to note: do it after you read the instructions to do it. Don’t do it before you see the directions.
- Wait a while until the computer or PC identify(detect ) the Epson XP-620 printer and continues the process.
Don’t forget to include all the worths to the wizard up until you have finished the setup process. - The last thing to do is to try the printer. Try printing something to check whether the printer is working or not. If not, you can reinstall by following the steps above. Make sure you have done all the steps.
- The last thing to do is attempting the printer. Tray to print something to examine whether the printer is working or not. If it is not, you can reinstall by following the steps above. Ensure that you have done all the actions.