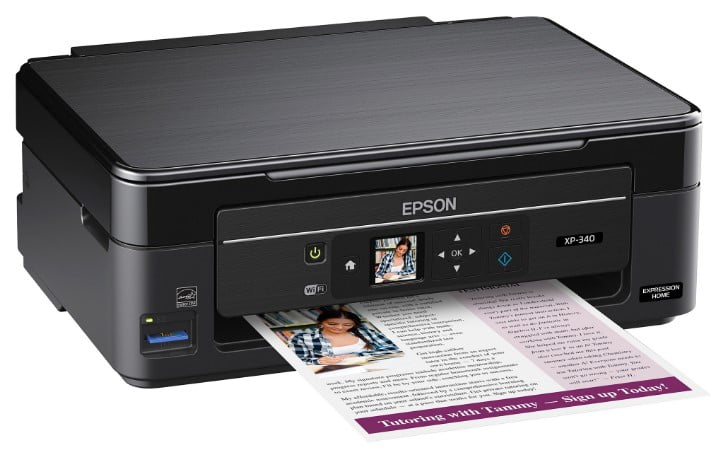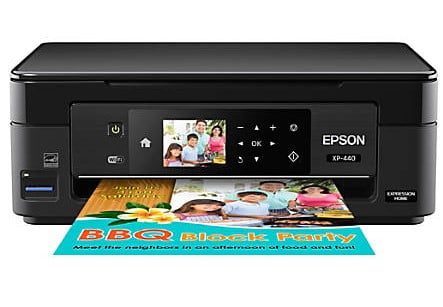
The Epson XP-422 Manual, Install is a printer, scanner, and photocopier uses cost-efficient printing for home individuals trying to find Wi-Fi connection and mobile printing. Individual inks suggest that just the color used will need to be changed, conserving money. Epson’s Claria Home Ink is suitable for economical and reputable printing, creating crisp, clear text papers and shiny, lab-quality images. With each ink cartridge, you have to replace the shade used, saving you money. Automatic Wi-Fi set-up makes configuring laptop computers and computer systems to print and checks wirelessly incredibly simple. You don’t require to recognize your network setups as the Epson XP-422 immediately discovers the pertinent link setups to configure itself. For included convenience, Wi-Fi Direct permits easy printing from compatible wireless gadgets without the need for a network.
The XP-422 comes with Epson Connect which consists of Epson iPrint (for easy cordless printing from smart devices and tablets), Epson Creative Print (print pictures directly from Facebook), and Epson Email print (print from throughout the world by emailing images and documents directly to the printer). AirPrint and Google Cloud Print are additionally supported. This all-in-one includes a 6.4 cm LCD screen with touch panel and a flash memory card slot for easy-to-use PC-free photo printing and copying.
Operating System (OS)
Table of Contents
Windows 7 (x64), Windows 7 (x86), Windows 8 (x64), Windows 8 (x86), Windows 8.1 (x64), Windows 8.1 (x86), Windows XP (x64), Windows XP (x86), Windows 10 (x64), Windows 10 (x86)
Epson Expression Home XP-422 Driver Links:
Expression XP-422 Scan Driver Links:
Epson XP-422 Event Manager Links:
How to Install Driver Epson XP-422:
- Click to downloaded the file with Windows.
- Double-click the Epson XP-422 Driver Download
- Connect your Epson to the computer using USB and power on the printer
- Double-click on the installation icon to start the installation.
- Then you follow the step by step instructions on your monitor screen.
- Finished, The Epson XP-422 Printer has been ready to use.
Read Also: Epson XP-302 Driver, Manual, Software & Download
How to Install Epson XP-422 Using CD or DVD Driver:
Epson XP-422 users choose to install the driver using a CD or DVD driver because it is easy and fast to do.
- Insert the CD Epson XP-422 driver into your computer or PC.
- Let the CD run on your PC or Computer.
- Start to run the setup file, and you must follow the installation guide.
- Follow the actions(step) which appear on the screen to complete.
- You are asked to link(connect) a USB cable in between the Epson XP-422 and the computer system cable.
- It is important to note: do it after you read the instructions to do it. Don’t do it before you see the directions.
- Wait a while until the computer or PC identify(detect ) the Epson XP-422 printer and continues the process.
Don’t forget to include all the worths to the wizard up until you have finished the setup process. - The last thing to do is to try the printer. Try printing something to check whether the printer is working or not. If not, you can reinstall by following the steps above. Make sure you have done all the steps.
- The last thing to do is attempting the printer. Tray to print something to examine whether the printer is working or not. If it is not, you can reinstall by following the steps above. Ensure that you have done all the actions.