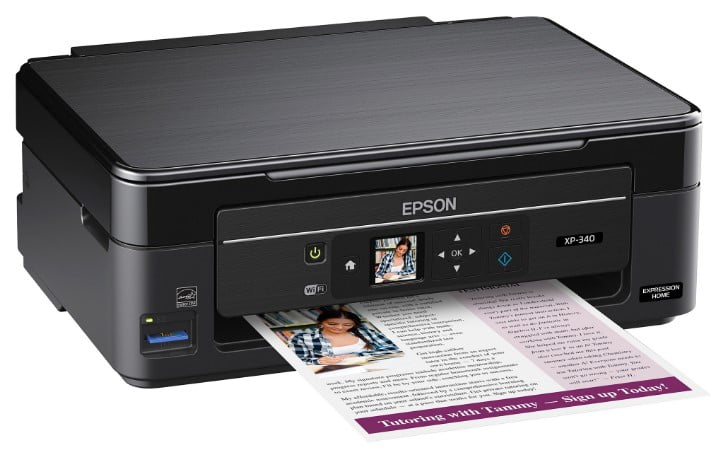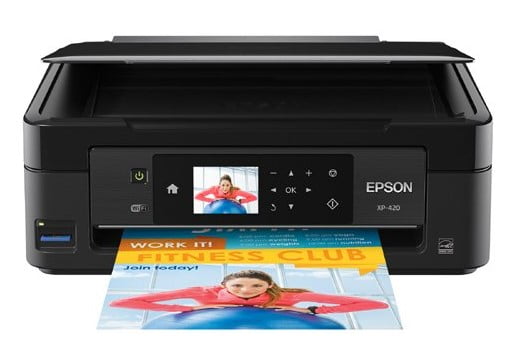
The Epson XP-420 Manual, Install provided high-quality prints, highlighted by appealing graphics. Text looked reasonably sharp, and graphics published with vibrant shade and the correct amount of detail. Our examination pictures printed on glossy picture paper provided great deals of delicate information and vibrant hues. The XP-420 made copies on a par with various other assessed inkjets; message and graphics lost a little sharpness, but worths had a tendency to be exact. Scan quality was really high and on a par with various other inkjet all-in-ones. The Epson XP-420 properly recreated the colors and fine information in photos, maintaining functions in darkness locations.
The XP-420 offers an attractive assortment of standard features, and the high total picture quality makes it an excellent bargain. The SD Card port simplifies image printing without a computer. However, the pictures of the XP-420 print so gradually that anybody searching for a budget plan photo-printing alternative should take into consideration a speedier gadget.
Operating System (OS)
Table of Contents
Windows 7 (x64), Windows 7 (x86), Windows 8 (x64), Windows 8 (x86), Windows 8.1 (x64), Windows 8.1 (x86), Windows XP (x64), Windows XP (x86), Windows 10 (x64), Windows 10 (x86)
Download Epson XP-420 Setup Links:
How to Install Driver Epson XP-420:
- Click to downloaded the file with Windows.
- Double-click the Epson XP-420 Driver download
- Connect your Epson to the computer using USB and power on the printer
- Double-click on the installation icon to start the installation.
- Then you follow the step by step instructions on your monitor screen.
- Finished, The Epson XP-420 Printer has been ready to use.
Read Also: Epson XP-430 Manual, Install for Windows
How to Install Epson XP-420 Using CD or DVD Driver:
Epson XP-420 users choose to install the driver using a CD or DVD driver because it is easy and fast to do.
- Insert the CD Epson XP-420 driver into your computer or PC.
- Let the CD run on your PC or Computer.
- Start to run the setup file, and you must follow the installation guide.
- Follow the actions(step) which appear on the screen to complete.
- You are asked to link(connect) a USB cable in between the Epson XP-420 and the computer system cable.
- It is important to note: do it after you read the instructions to do it. Don’t do it before you see the directions.
- Wait a while until the computer or PC identify(detect ) the Epson XP-420 printer and continues the process.
Don’t forget to include all the worths to the wizard up until you have finished the setup process. - The last thing to do is to try the printer. Try printing something to check whether the printer is working or not. If not, you can reinstall by following the steps above. Make sure you have done all the steps.
- The last thing to do is attempting the printer. Tray to print something to examine whether the printer is working or not. If it is not, you can reinstall by following the steps above. Ensure that you have done all the actions.