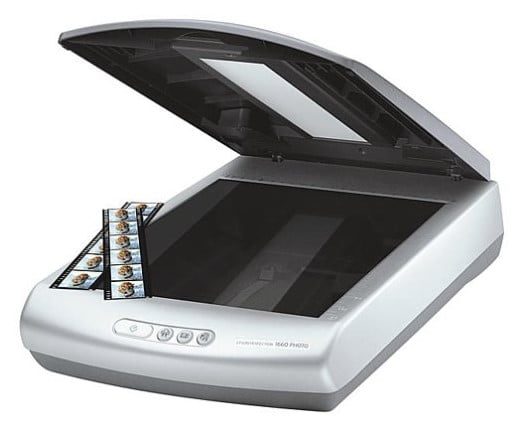
The Epson Perfection 1660 Manual, Install supplies an unbelievable value with its 1,600 x 3,200 dpi optical resolution (12,800 x 12,800 dpi inserted) and true 48-bit color depth for sharp, brilliant outcomes. Rate with the most difficult scanning applications without compromising photo quality, or the lower line. With rapid USB connectivity and automated, four-button scanning, this cutting edge performer makes it simple to scan photos, text, and graphics to a scan-to-copy utility, Epson’s photo-sharing Website, and many e-mail software programs. Epson Smart Panel software uses extra alternatives, consisting of the scan to OCR, and scan to submit. Plus, the Perfection 1660 scanner consists of a built-in 35mm filmstrip adapter for scanning slides or filmstrips.
Operating System (OS)
Table of Contents
Windows 7 (x64), Windows 7 (x86), Windows 8 (x64), Windows 8 (x86), Windows 8.1 (x64), Windows 8.1 (x86), Windows XP (x64), Windows XP (x86), Windows 10 (x64), Windows 10 (x86)
Epson Perfection 1660 TWAIN Driver Links:
Epson 1660 Scanner Driver Links:
How to Install Driver Epson Perfection 1660:
- Click to downloaded the file with Windows.
- Double-click the Epson Perfection 1660 Driver Download
- Connect your Epson to the computer using USB and power on the printer
- Double-click on the installation icon to start the installation.
- Then you follow the step by step instructions on your monitor screen.
- Finished, The Epson Perfection 1660 Printer has been ready to use.
Read Also: Epson Perfection V19 Driver, Manual, Software & Download
How to Install Epson Perfection 1660 Using CD or DVD Driver:
Epson Perfection 1660 users choose to install the driver using a CD or DVD driver because it is easy and fast to do.
- Insert the CD Epson Perfection 1660 driver into your computer or PC.
- Let the CD run on your PC or Computer.
- Start to run the setup file, and you must follow the installation guide.
- Follow the actions(step) which appear on the screen to complete.
- You are asked to link(connect) a USB cable in between the Epson Perfection 1660 and the computer system cable.
- It is important to note: do it after you read the instructions to do it. Don’t do it before you see the directions.
- Wait a while until the computer or PC identify(detect ) the Epson Perfection 1660 printer and continues the process.
Don’t forget to include all the worths to the wizard up until you have finished the setup process. - The last thing to do is to try the printer. Try printing something to check whether the printer is working or not. If not, you can reinstall by following the steps above. Make sure you have done all the steps.
- The last thing to do is attempting the printer. Tray to print something to examine whether the printer is working or not. If it is not, you can reinstall by following the steps above. Ensure that you have done all the actions.