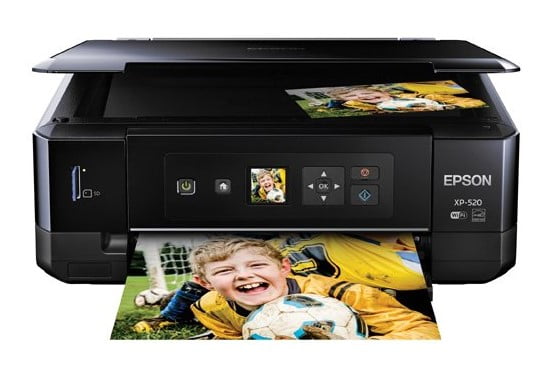
The Epson XP-520 is also decently fast and has double-sided sports printing, a feature not always found at this price point. If you are reading this on your cellphone while shopping at low volume MFPs at your local box store, you can stop reading now – this is the one you want. The XP-520 supports Wi-Fi direct printing, as well as email hosts and the usual remote printing features. The Epson software bundle is always capable of utilizing all MFP features. There is also an SD media card slot in the front for printing photos and other data directly.
The Epson XP-520 speed is also a pleasant surprise. It prints mixed text and pages at 7.4 per minute on a PC and 7.2 on a Mac. Full-page photos are printed on plain paper at 3.2 per minute, and to stock glossy pictures in a little more than two minutes on both PC and Mac. The scan is well tolerated at two per minute at 600dpi and slightly under one per minute at 1200 dpi. Previews only take 10 seconds.
Operating System (OS)
Table of Contents
Windows 7 (x64), Windows 7 (x86), Windows 8 (x64), Windows 8 (x86), Windows 8.1 (x64), Windows 8.1 (x86), Windows XP (x64), Windows XP (x86), Windows 10 (x64), Windows 10 (x86)
| File Name | Link Downloads |
| Epson XP-520 Printer Driver v7.12 | Download |
| Epson XP-520 Scanner Driver Utility v4.0.1.0 | Download |
| Epson Software Updater v4.6.1 | Download |
How to Install Driver Epson XP-520:
- Click to download the file with Windows.
- Double-click the Epson XP-520 Driver Download
- Connect your Epson to the computer using USB and power on the printer
- Double-click on the installation icon to start the installation.
- Then you follow the step-by-step instructions on your monitor screen.
- Finished, The Epson XP-520 Printer has been ready to use.
Read Also: Epson XP-630 Manual, Install for Windows
How to Install Epson XP-520 Using CD or DVD Driver:
Epson XP-520 users choose to install the driver using a CD or DVD driver because it is easy and fast to do.
- Insert the CD Epson XP-520 driver into your computer or PC.
- Let the CD run on your PC or Computer.
- Start to run the setup file, and you must follow the installation guide.
- Follow the actions(step) which appear on the screen to complete.
- You are asked to link(connect) a USB cable in between the Epson XP-520 and the computer system cable.
- It is important to note: do it after you read the instructions to do it. Don’t do it before you see the directions.
- Wait a while until the computer or PC identifies (detect ) the Epson XP-520 printer and continues the process.
Don’t forget to include all the worths to the wizard up until you have finished the setup process. - The last thing to do is to try the printer. Try printing something to check whether the printer is working or not. If not, you can reinstall by following the steps above. Make sure you have done all the steps.
- The last thing to do is attempt the printer. Tray to print something to examine whether the printer is working or not. If it is not, you can reinstall by following the steps above. Ensure that you have done all the actions.